A quick post to share free patterns from HomeSpun Threads.
Become a follower of the HomeSpun Threads blog and be sure to return the love by sharing the link on your blog.
That sure was a nice thing to stumble across but I wonder how long they will be free for?
The A+ Teacher
This year, so early into M's schooling, we were extremely fortunate to have the best teacher ever. Ms F is everything you hope for in a teacher and is a genuinely warm, caring and compassionate person. From the first day of school this year right up until the last minute of the last day of school, Ms F had M's best interests at heart. It was a particularly sad goodbye, since we have moved out of the area and M will be starting at a new school closer to home next year.
I cried saying goodbye to Ms F and told her that all future teachers will be compared to her.
As a class, we gave Ms F a lovely present however I wanted to make her something as well to let her know how much I appreciate everything she did for M throughout the year.
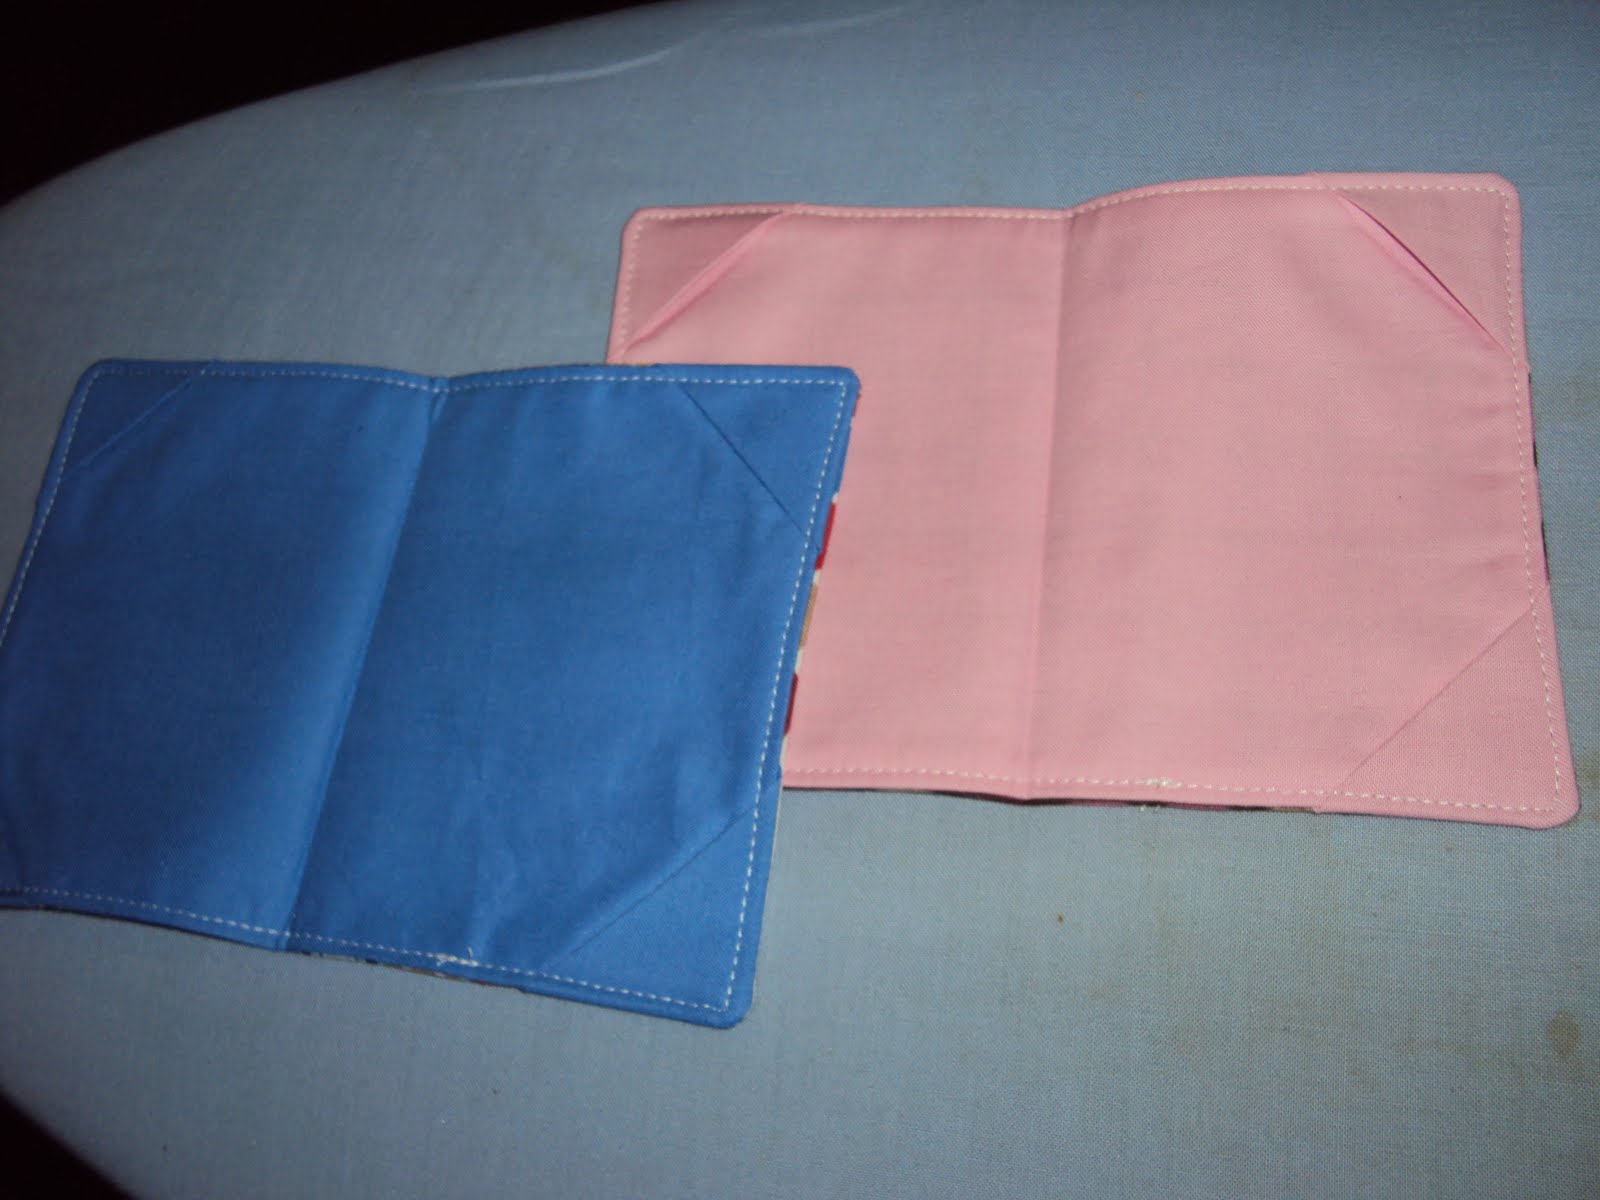
Ms F is from Canada. She travelled back to Canada during 3rd term school holidays and will be going home again next year to get married. Her fiance is Irish so for both of them I made these cute little his n hers passport covers.
Ms F is from Canada. She travelled back to Canada during 3rd term school holidays and will be going home again next year to get married. Her fiance is Irish so for both of them I made these cute little his n hers passport covers.

Please excuse the awful state of my ironing board cover
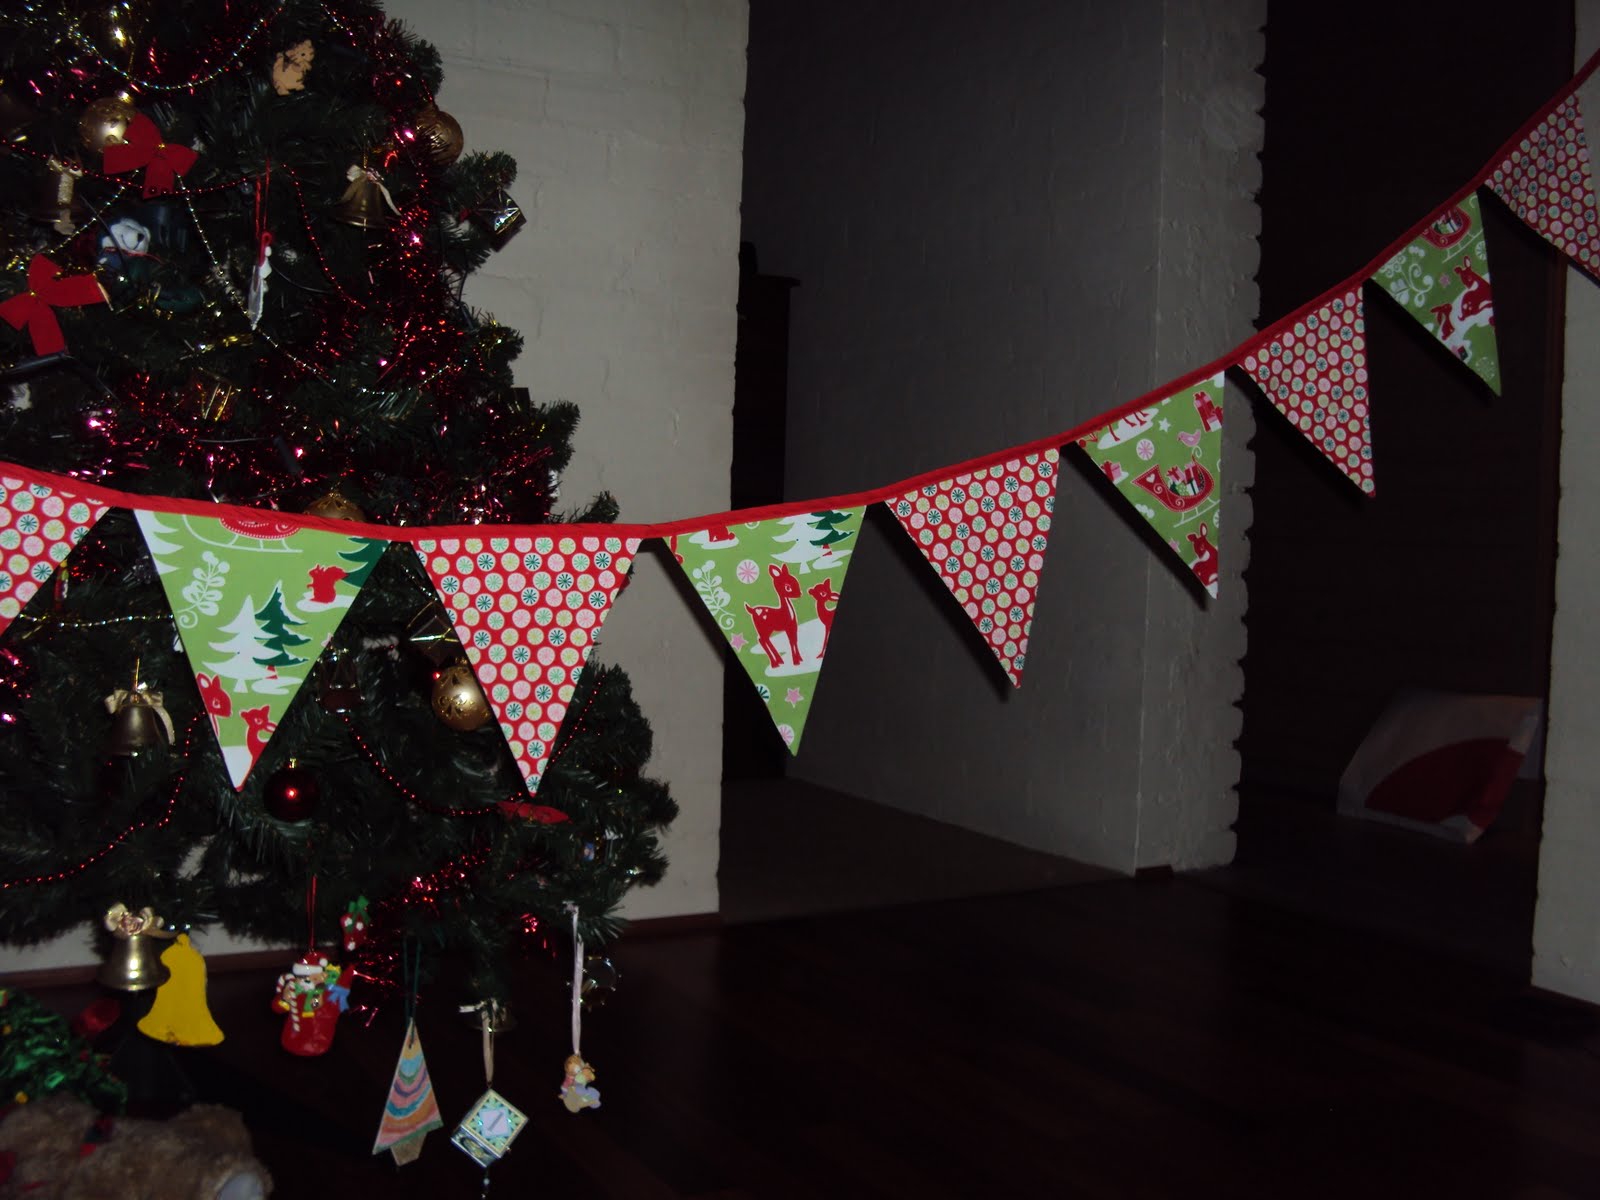
Next, I made some Christmas bunting. Secretly, the idea behind the bunting was to ensure that Ms F doesn't forget us and now she will think of us at least once every year when she hangs her Christmas decorations ;p
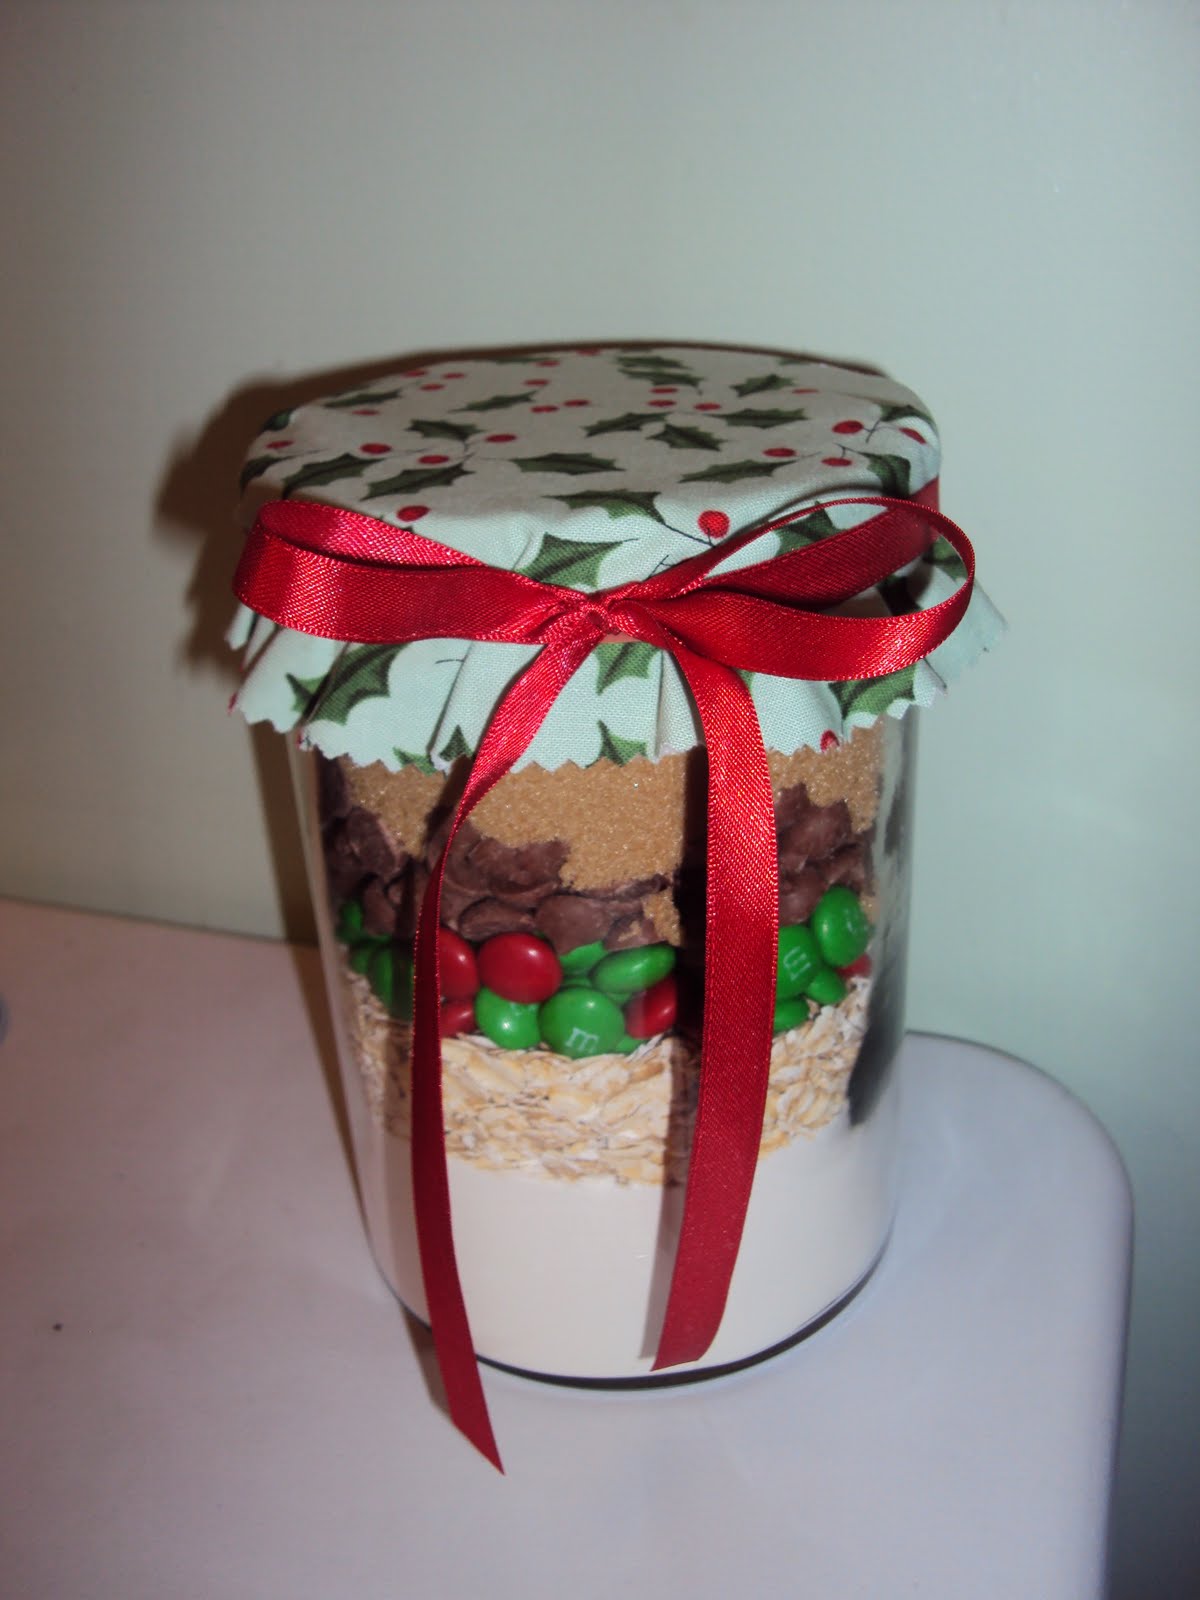
Although not sewing, Cookies in a Jar is still handmade and from the heart. I saw this idea on Bakerella's website a few months ago and knew I had to make it for her as soon as I saw it. After M and I assembled it, I couldn't stop looking at it. So pretty!
I am trying to be positive about M's new school next year but have to wonder if I will ever cry saying goodbye to another teacher. Hopefully I will.

In a Nutshell
So much time and so little to do. Wait a minute. Strike that, reverse it. ~ Willy Wonka
Things have been busy around here, busy in a good way. In the second half of this year alone, my husband and I squeezed a lot in.
We....
Sold our interstate unit
Bought our own house which we actually get to live in
Welcomed with much love our 3rd beautiful child
Packed up the family and moved into our new home
Went to a wedding in Yamba
Went to a wedding in Byron Bay
Went to a wedding in Melbourne
Celebrated our daughter's 7th birthday
Threw said daughter a completely OTT disco party
and are now preparing to celebrate Christmas in our new home with some good friends who will be staying with us.
Life is good.
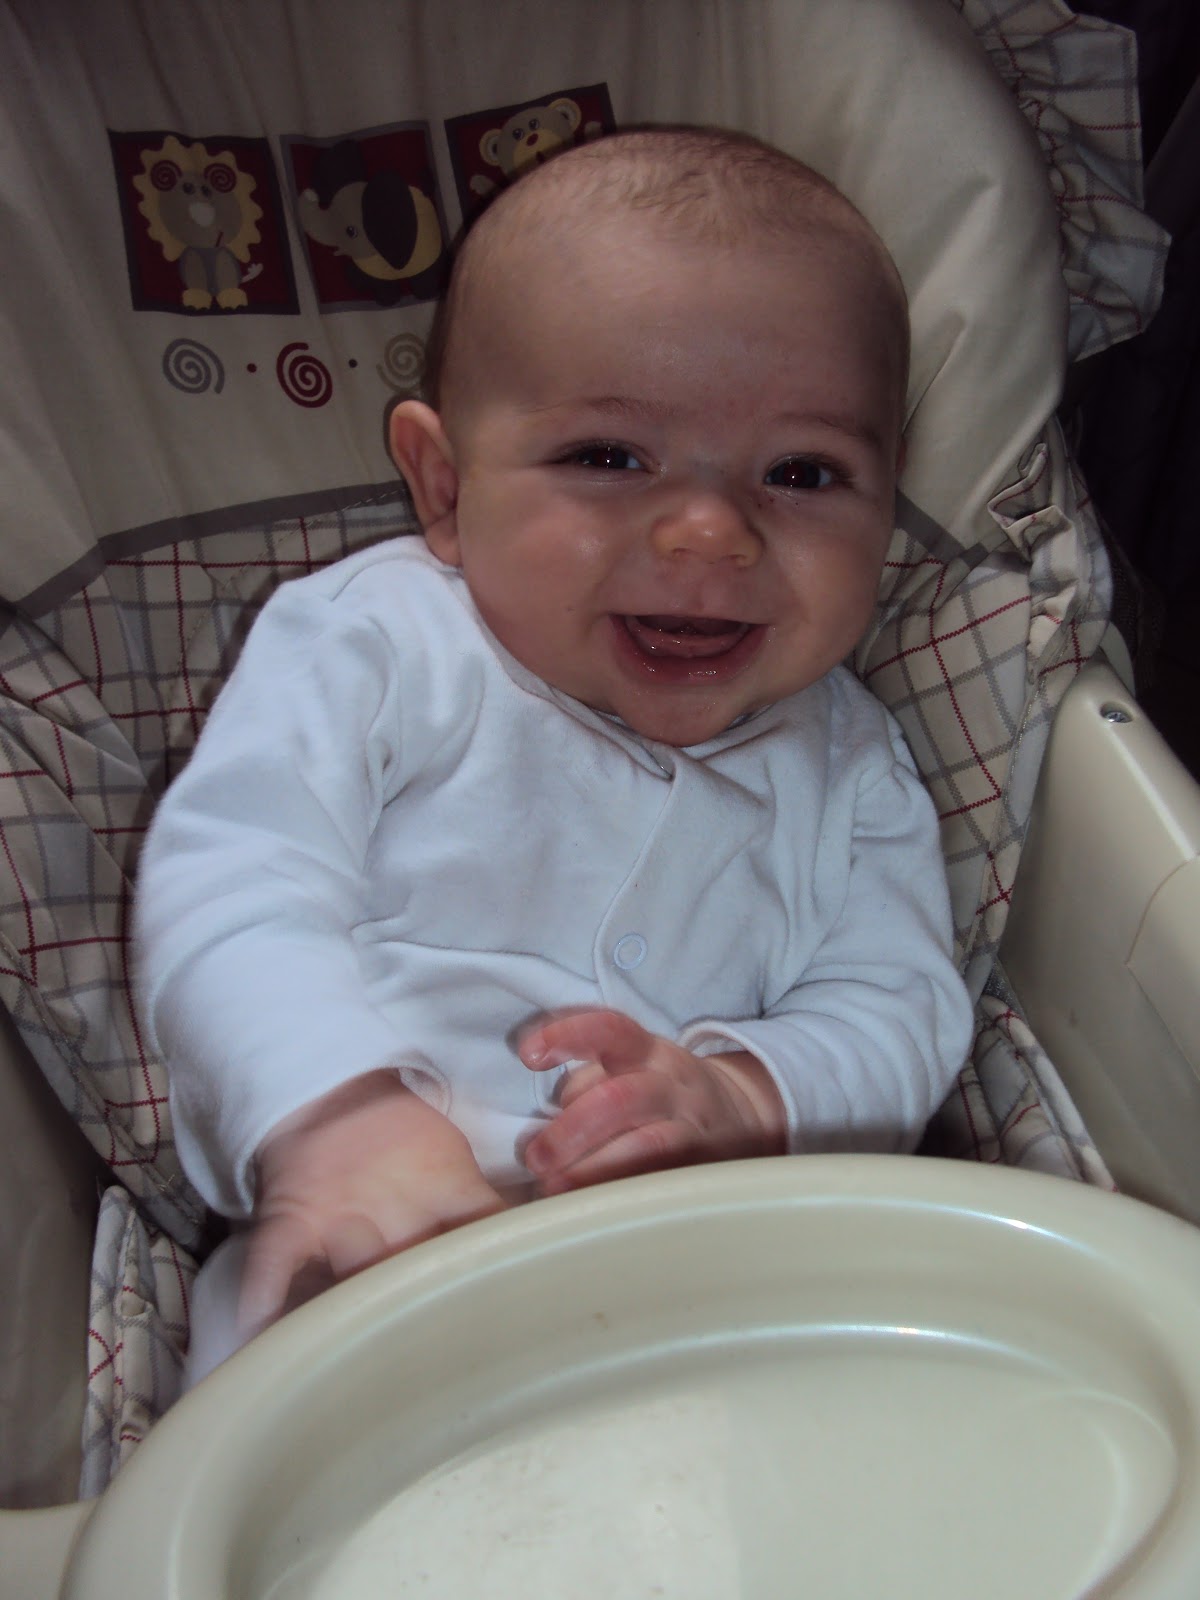
Life is especially good because of this divine little boy.

He came into our lives late August and is already 3 months old. My second son is such a joy and the icing on the cake for me. How lucky I am to be the mother of these 3 beautiful children (one of which has the remains of tattoo's on both arms!).

Master F is making the cutest little noises, little squeals, giving us lots and lots of lovely smiles and I am only up to him once (if at all) through the night. He looks so much like his big sister did when she was a baby.
I miss my sewing but wouldn't swap the last 6 months for anything in the world.
Kids Messenger Bag
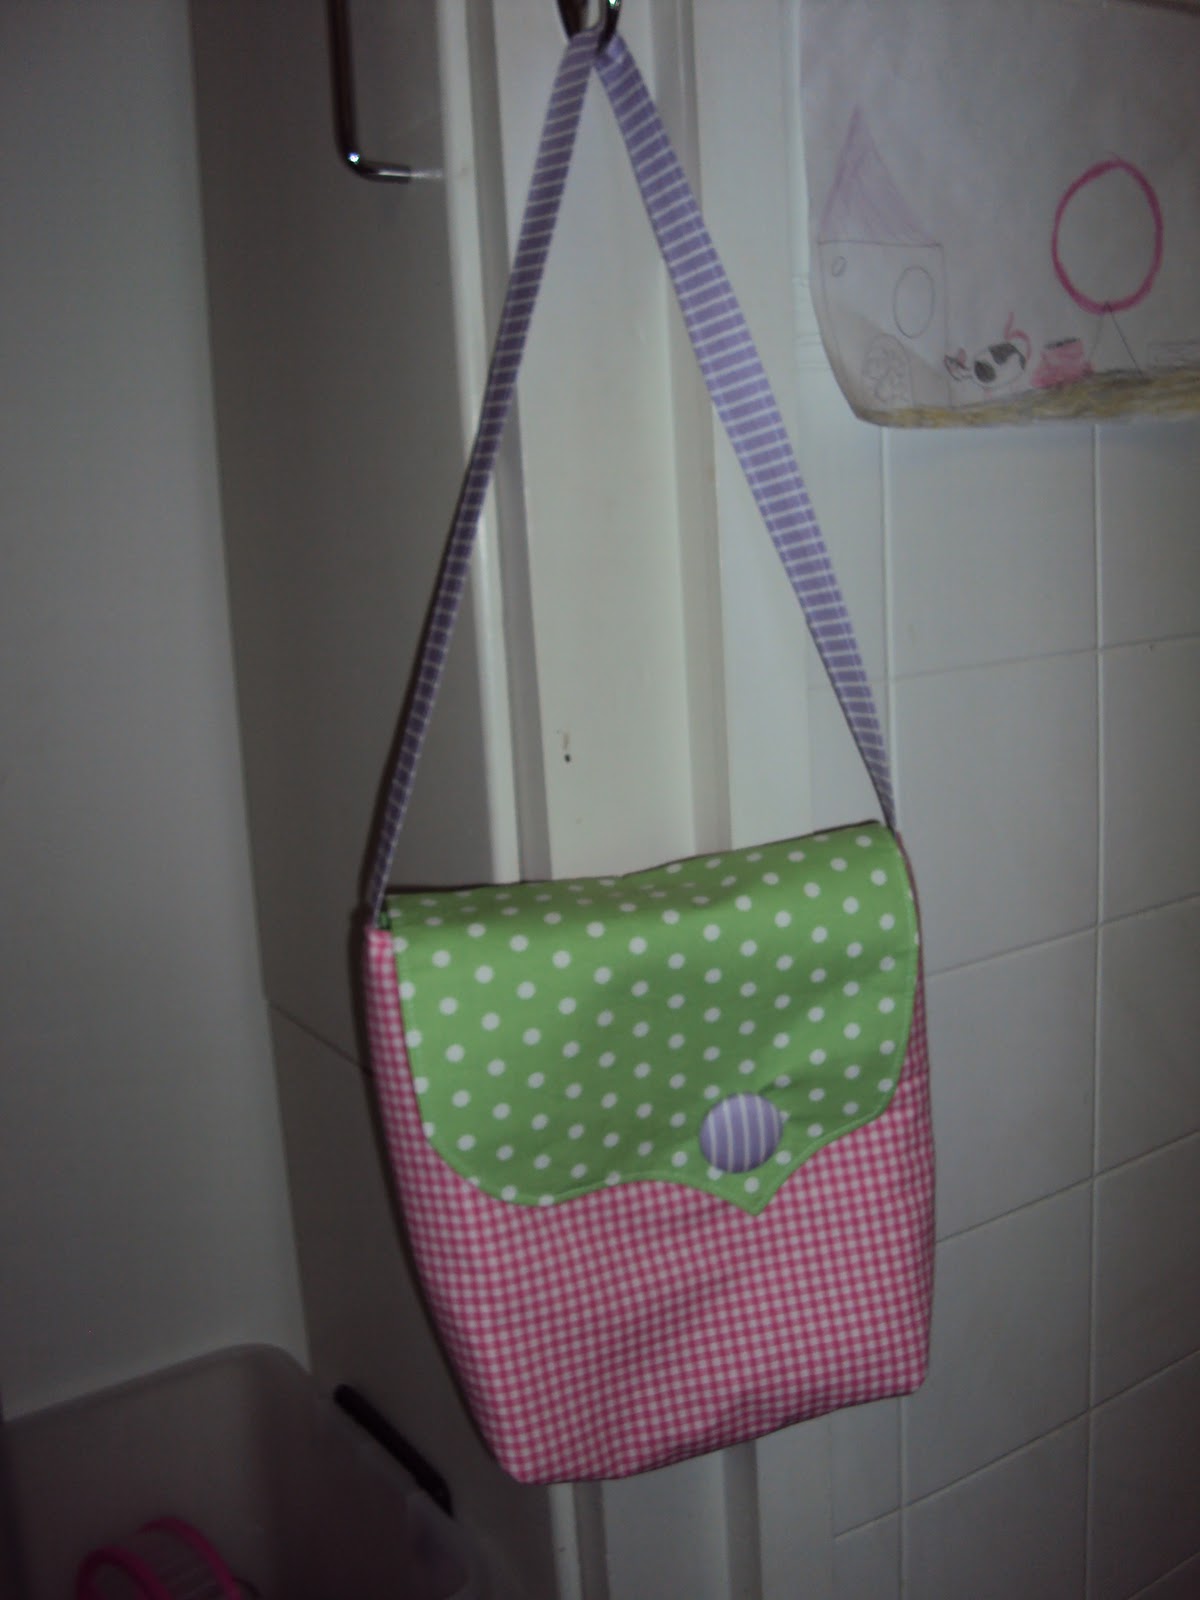 |
| FINISHED BAG |
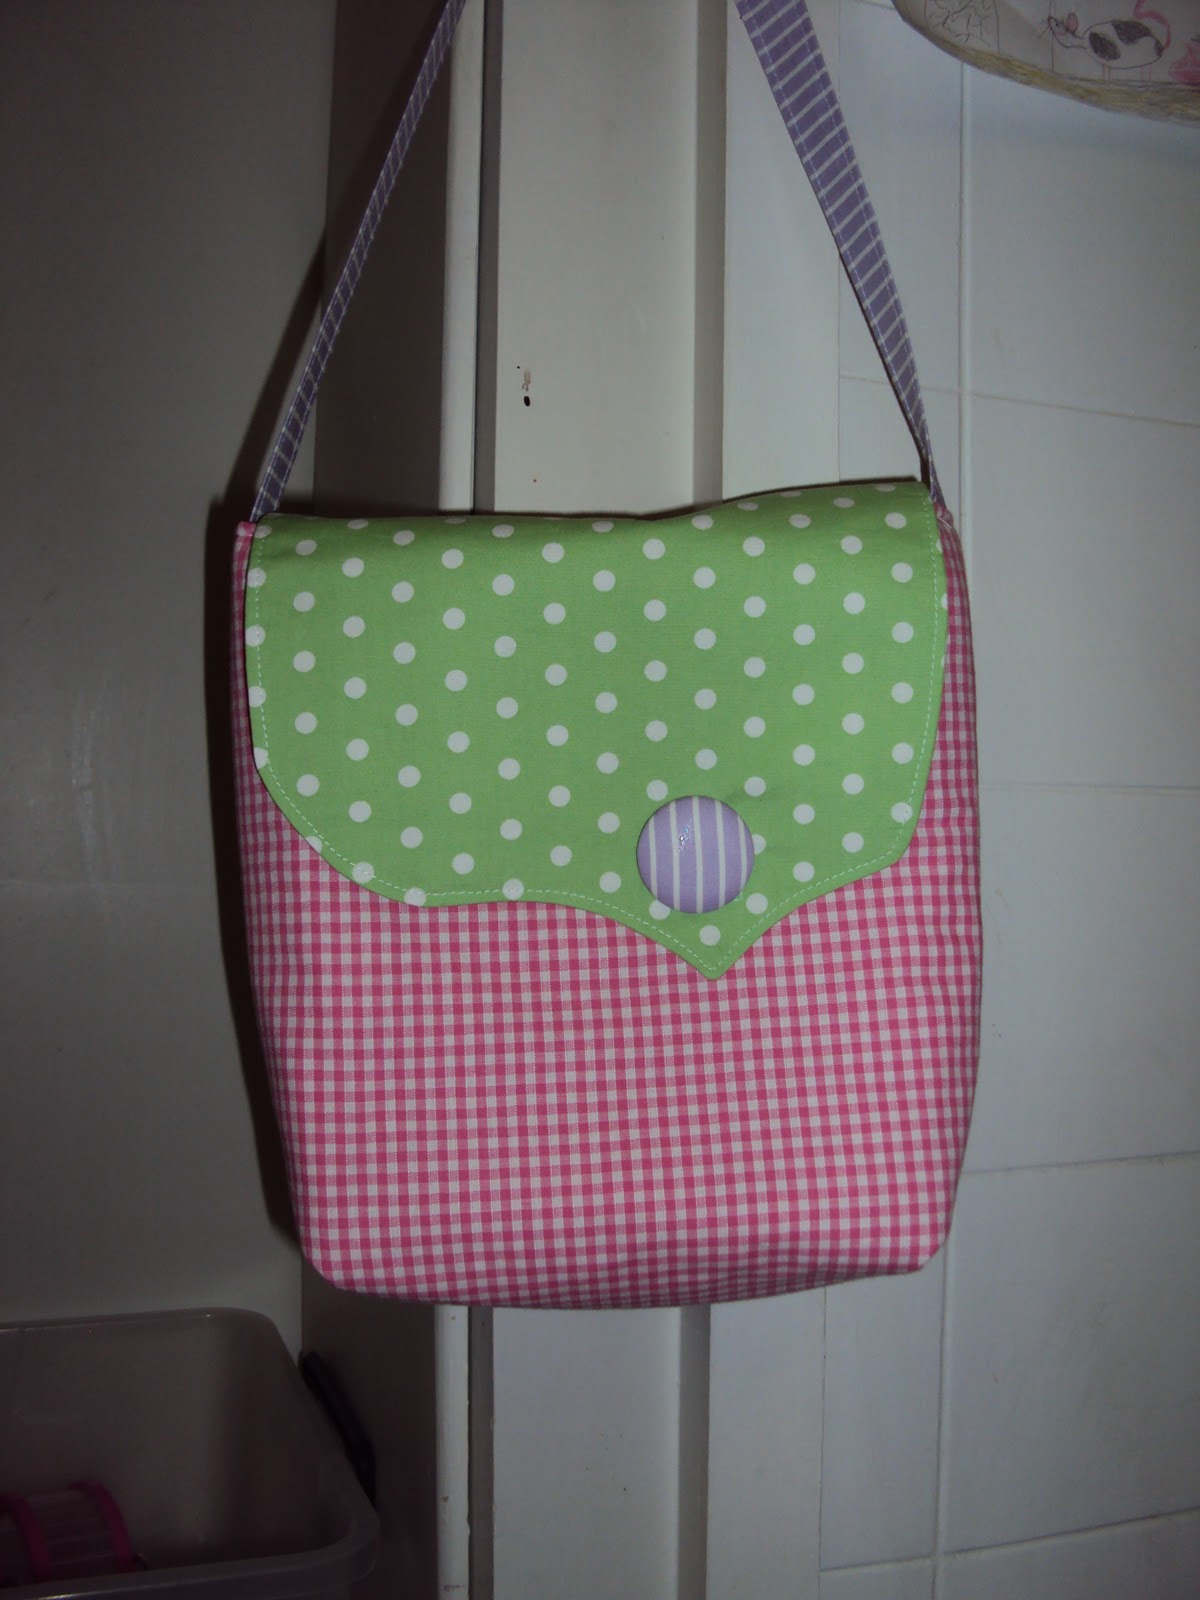 |
| FRONT OF BAG |
 |
| BACK OF BAG SHOWING POCKET |
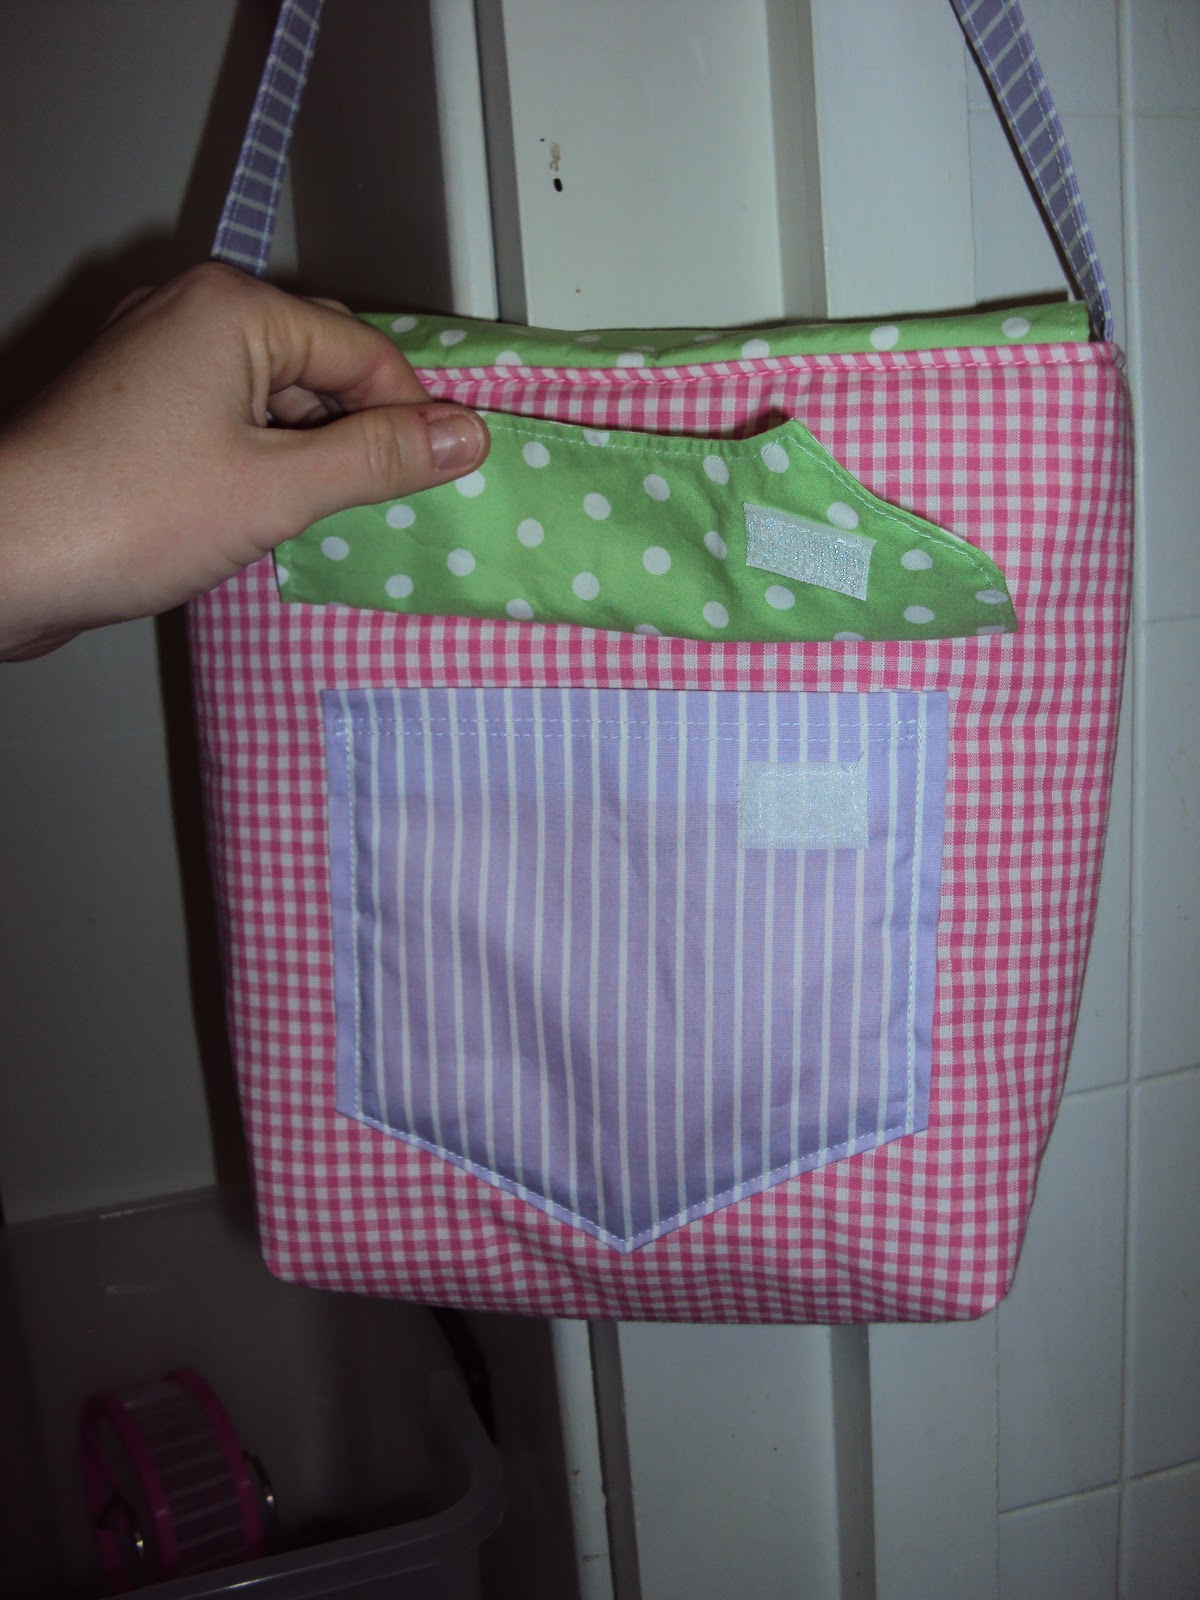 |
| VELCRO CLOSURE (FAKE BUTTON) |
 |
| BAG OPEN (VELCRO CLOSURE, ANOTHER FAKE BUTTON) |
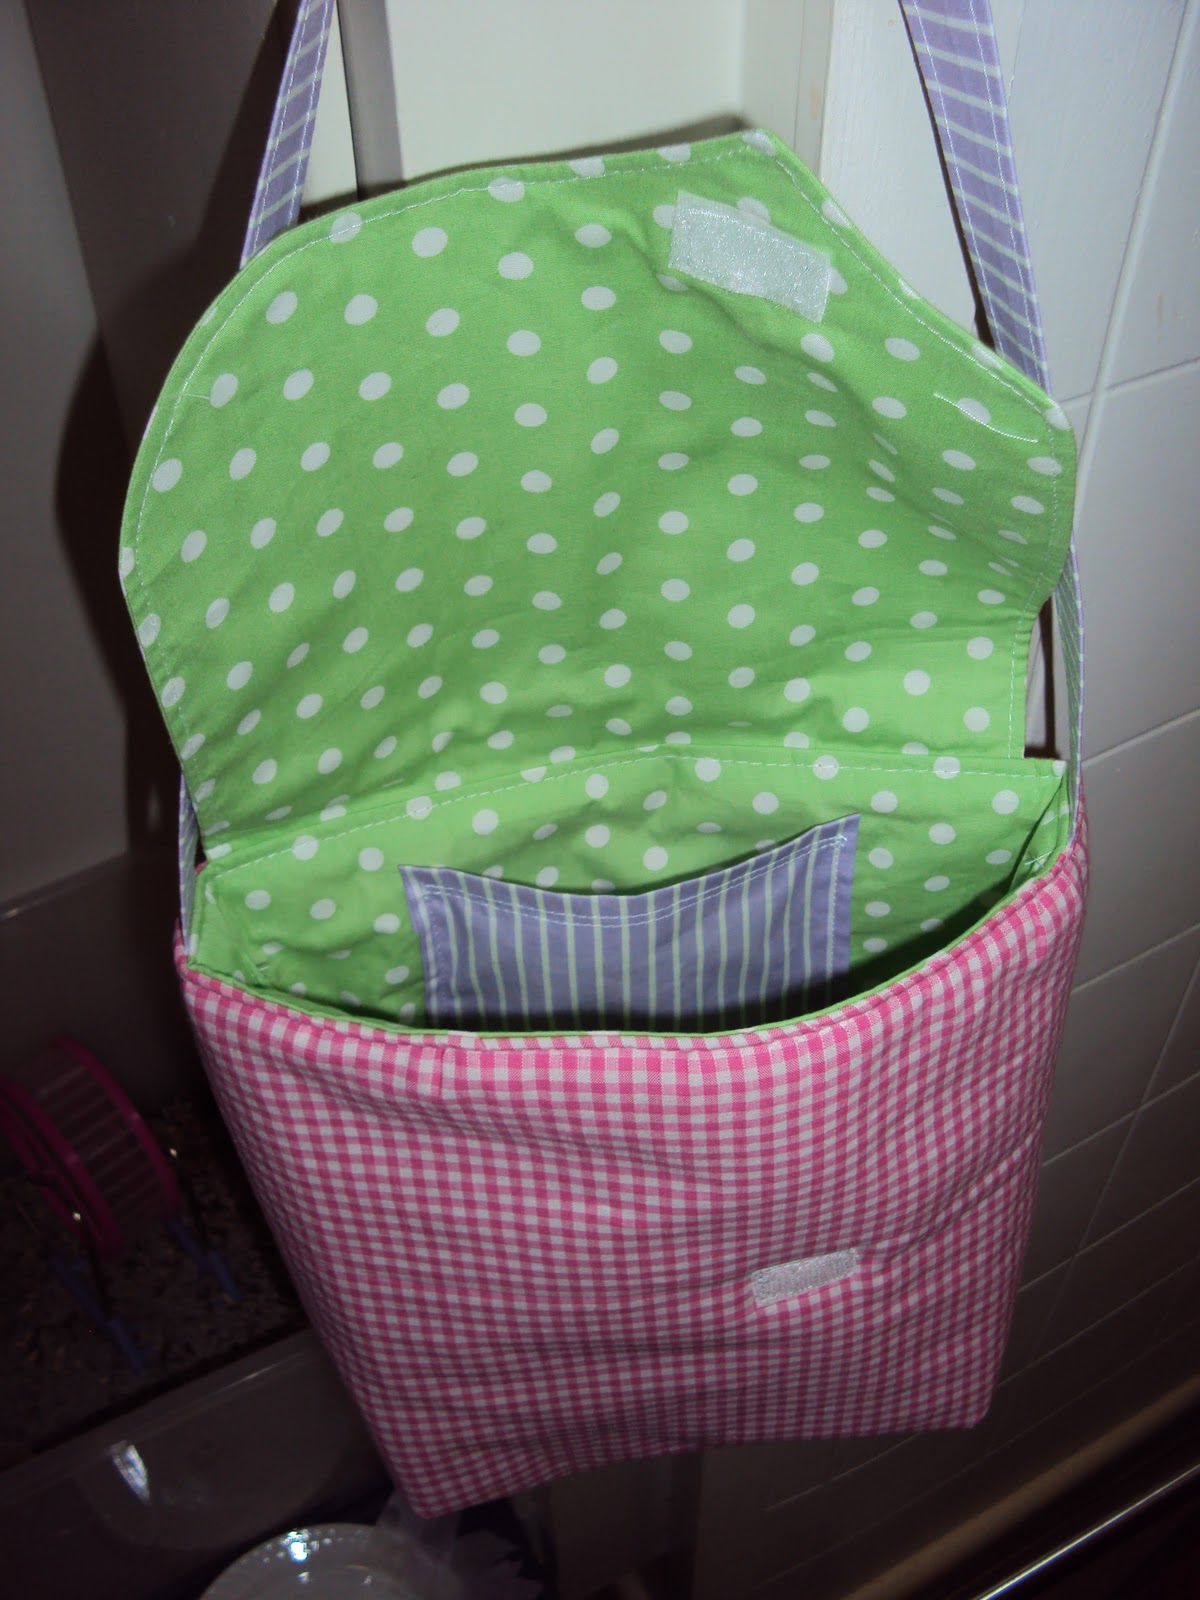 |
| INTERIOR POCKET (OOPS A BIT TOO HIGH UP) |
 |
| MATCHING CRAYON ROLL |
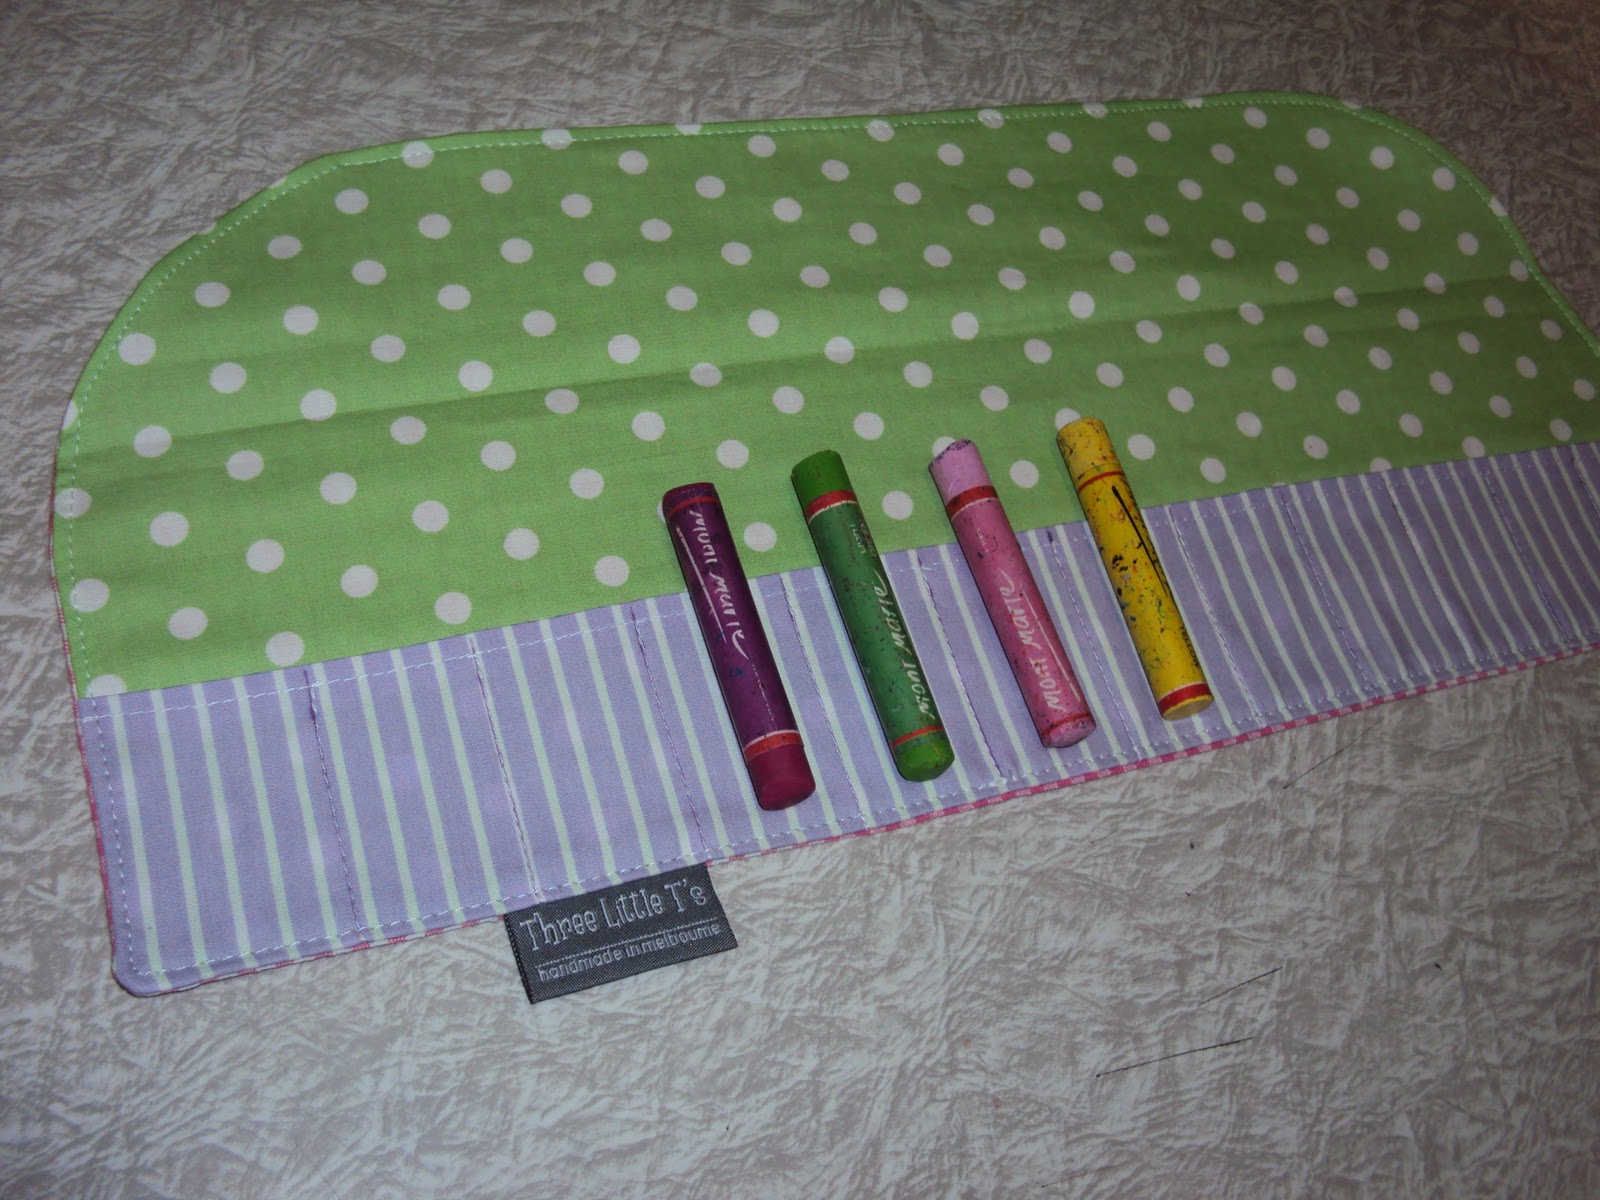 |
| CRAYONS TO SHOW SCALE (SMALLER THAN A TEXTA ROLL) |
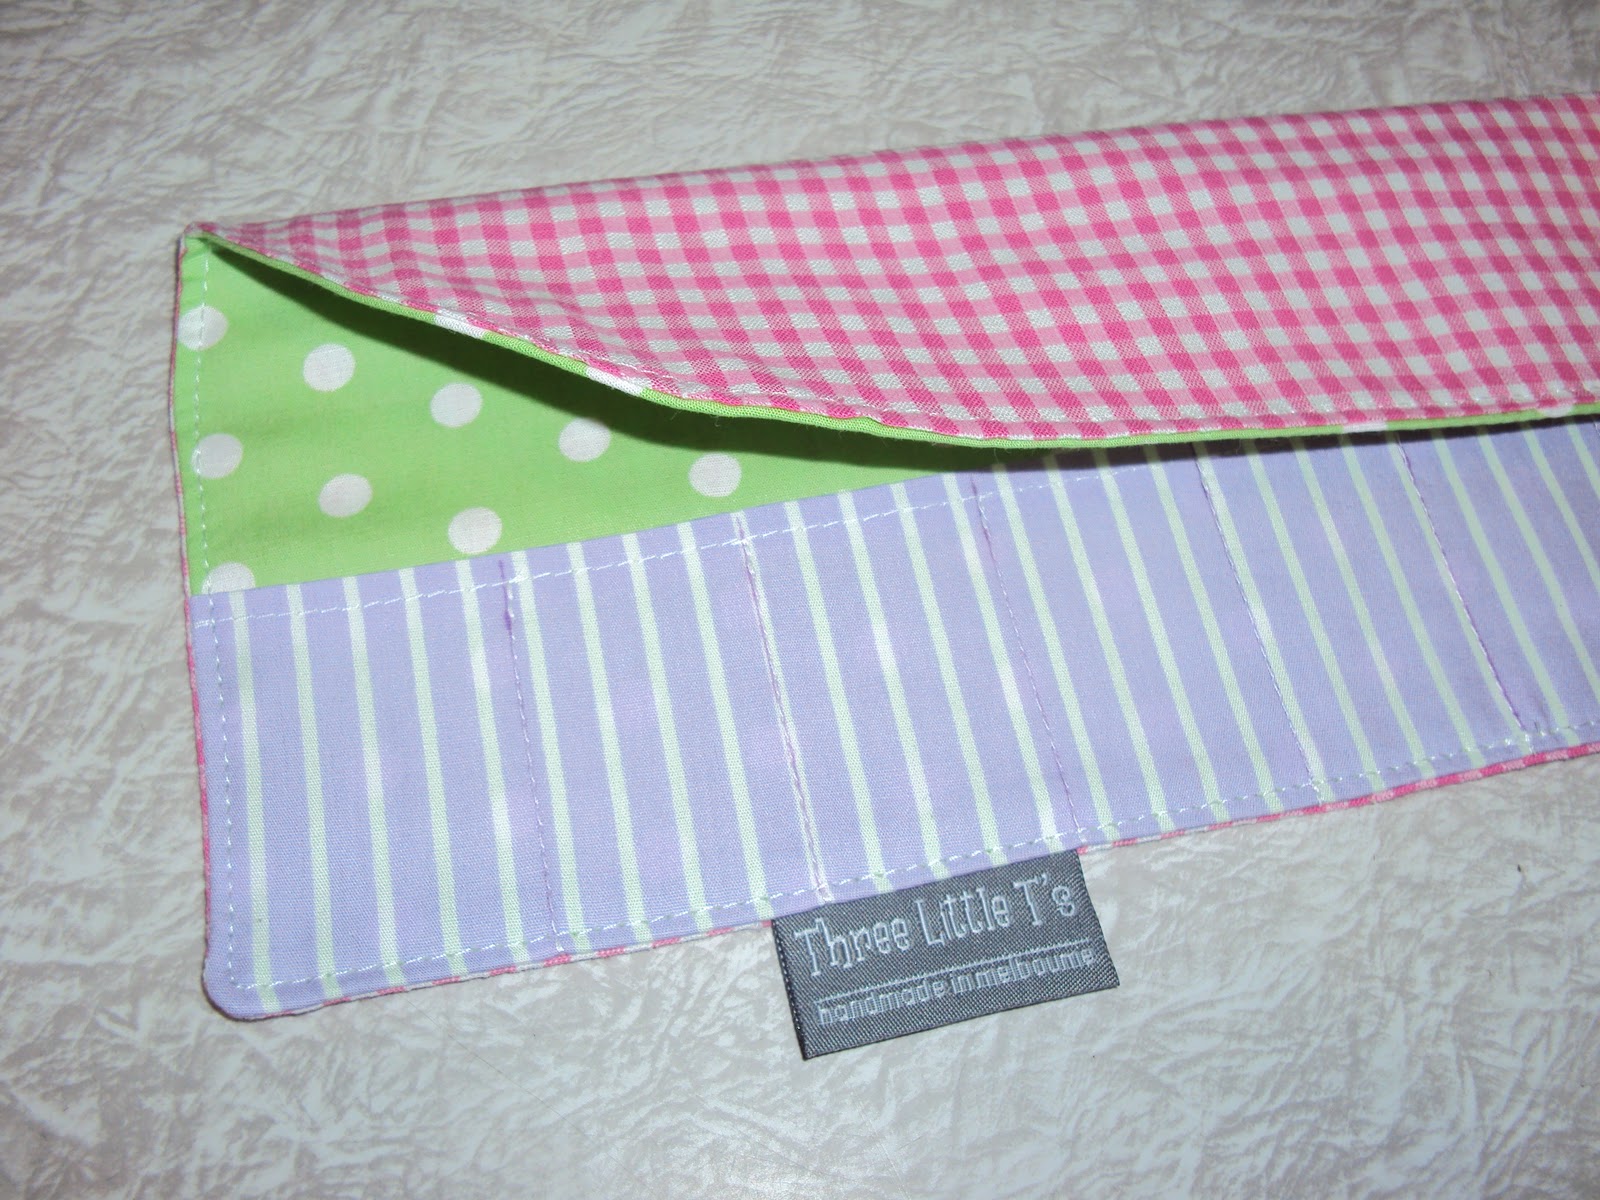 |
| WITH FLAP DOWN (PEN LINES YET TO FADE) |
 |
Tote Bag with Zippered Opening
My friend Y saw the tote bag that I made for M and wanted one for her daughter. However, said friend is fussy (!!) and wanted a pocket on the front, a zipper opening on the top of the bag and it had to be big enough to fit A4 books.
The zipper part scared me so I put the whole thing off....for ages.
I ended up using this tutorial for the top zipper.
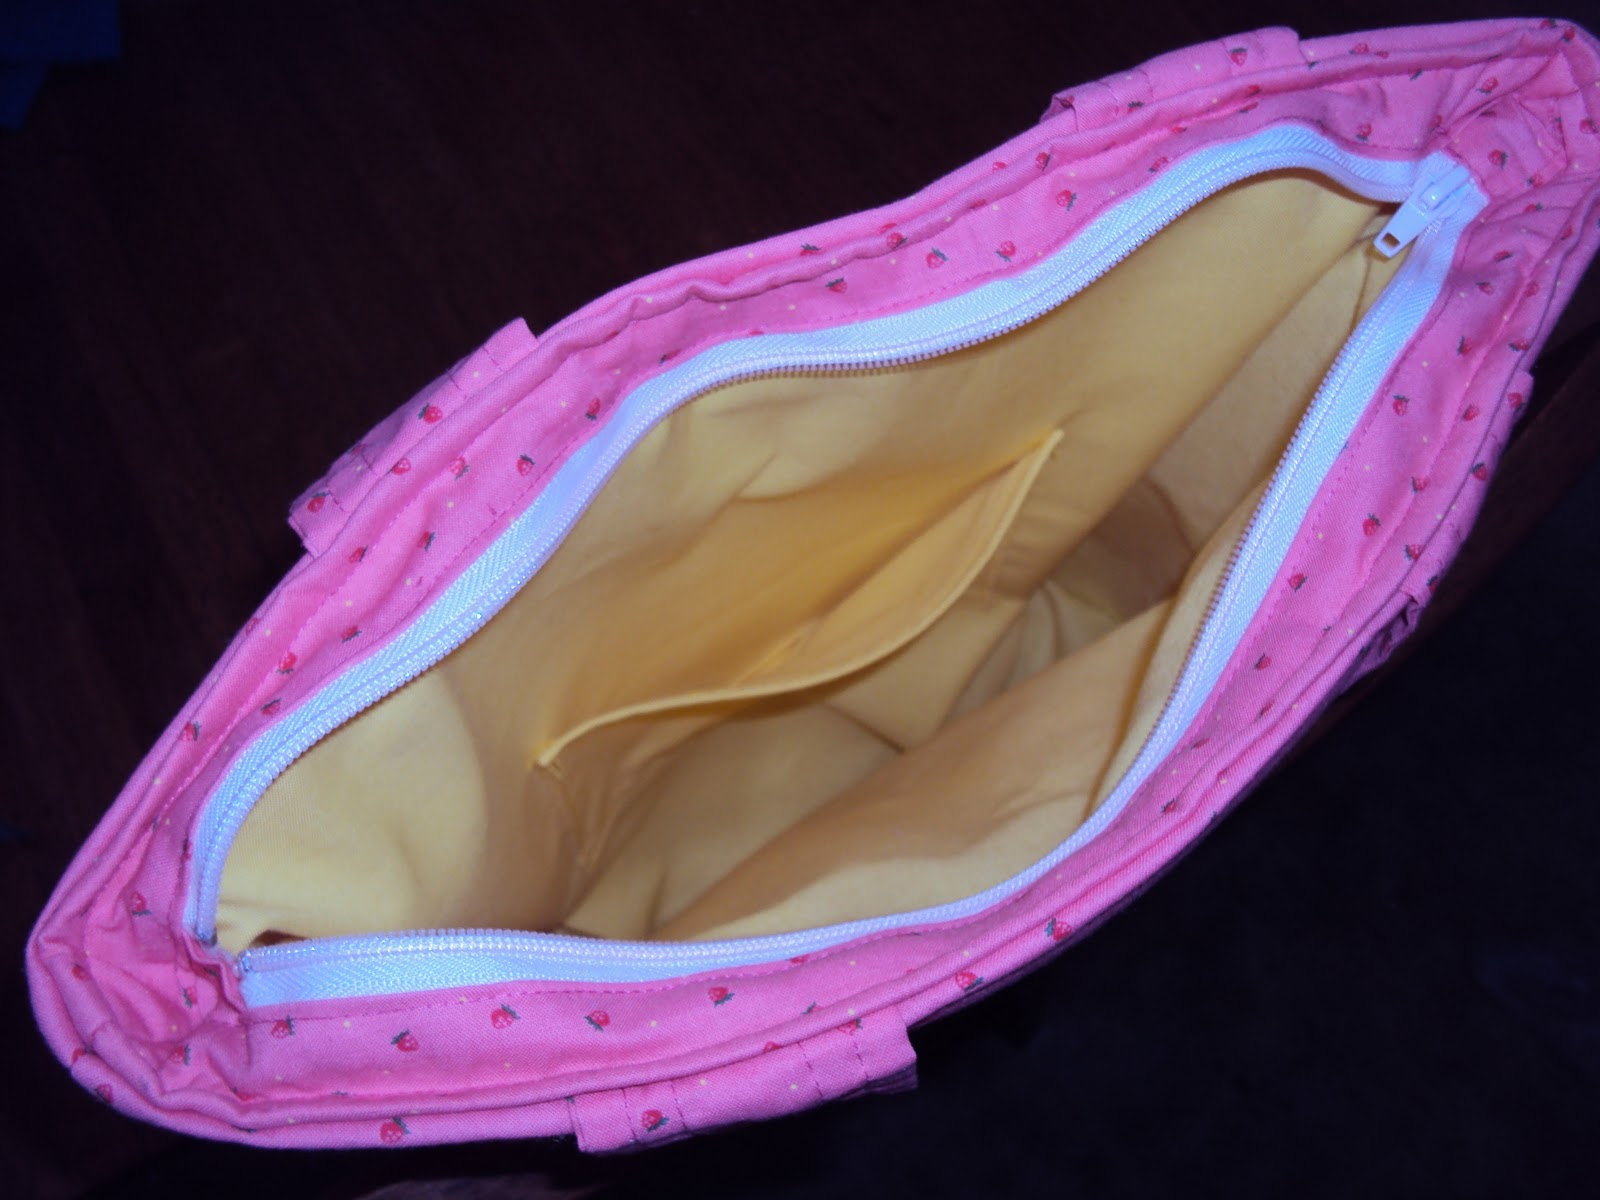
And here's what I ended up with.

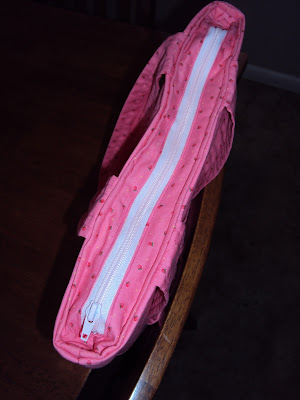
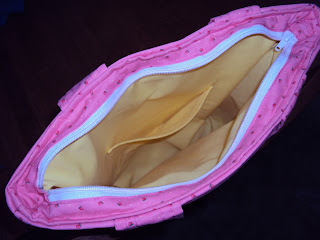
Overall I'm happy with the bag, but the zip I used was too long. I also hope the bag itself isn't too big, it is on the large side but at least it will fit A4 books.
It was fiddly to top stitch and therefore it isn't as neat as I would like but I had trouble getting the bag through my machine, especially the end parts of the zipper. I've only sewn bags on mum's machine before so I was a bit (read: very!) annoyed that my machine didn't seem up to the task.
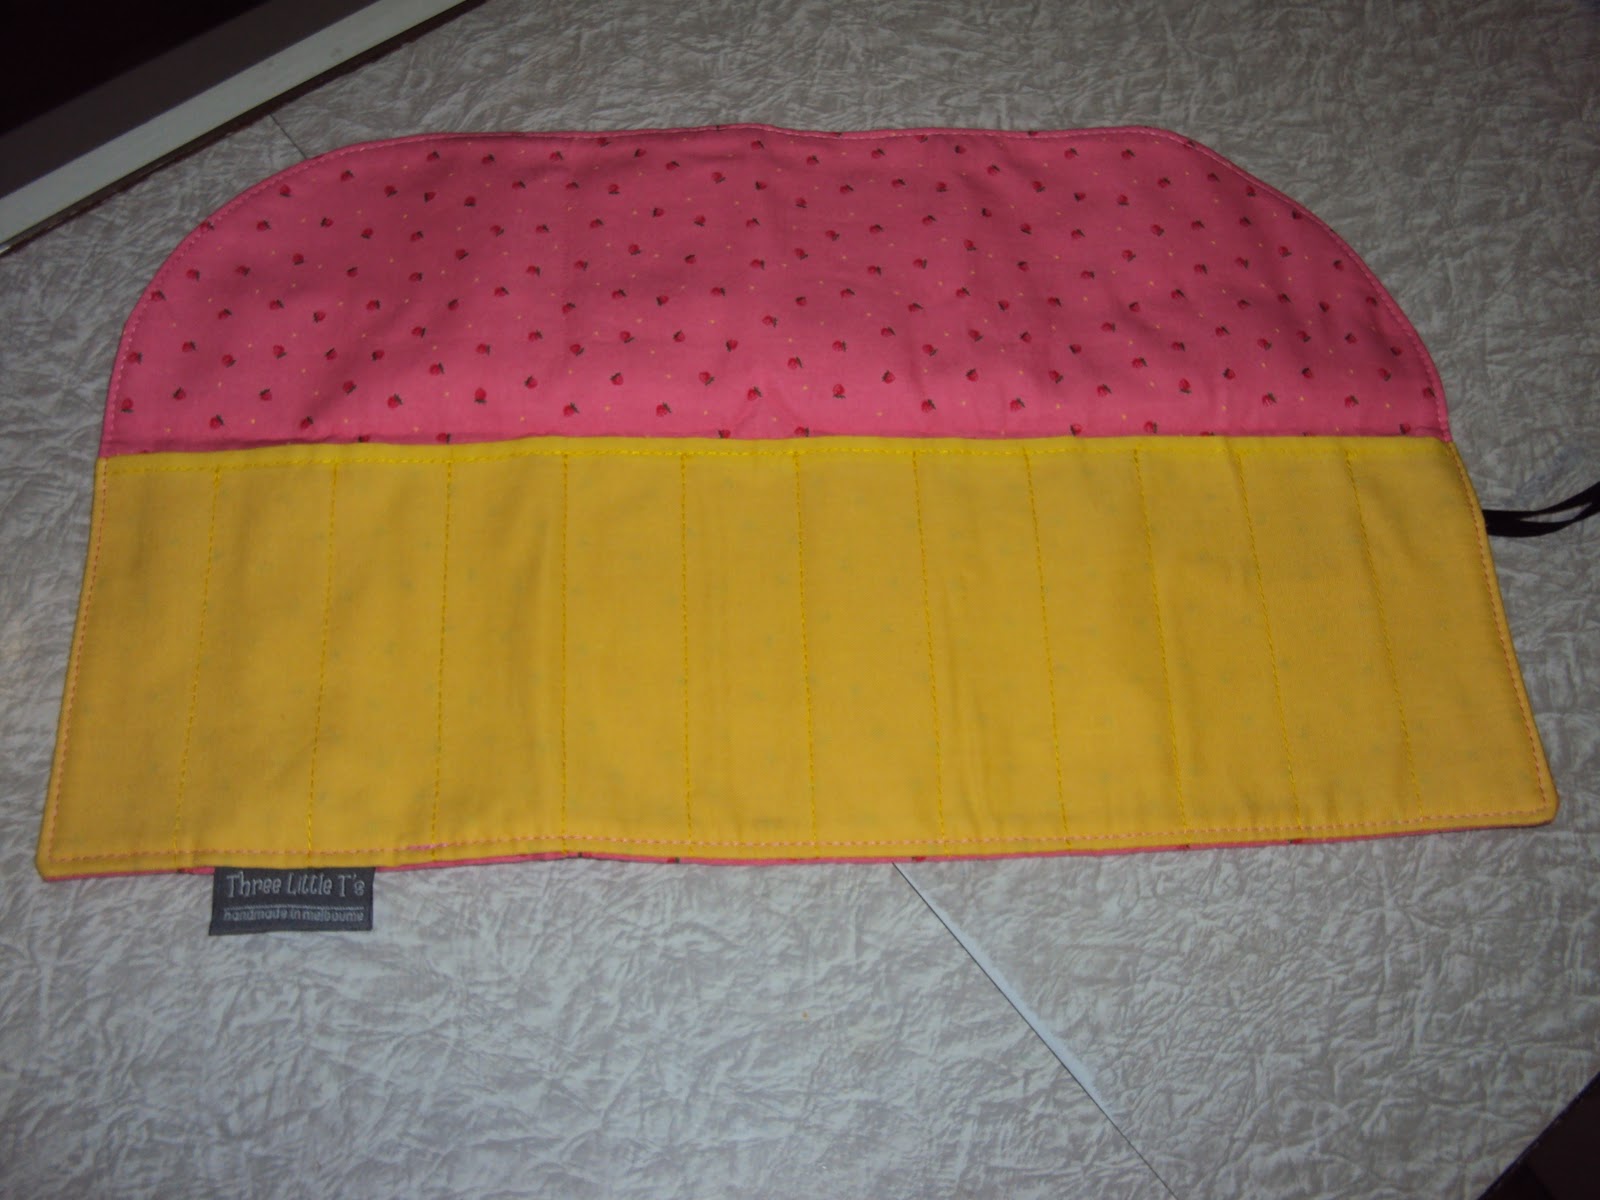
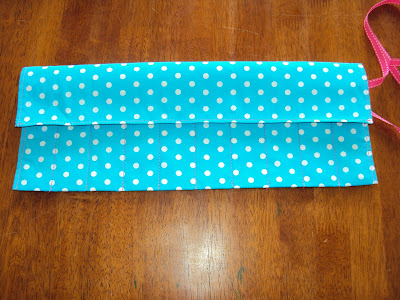
A pencil roll was also requested so I made one up to match the bag. I've made lots of these pencil rolls after figuring out some measurements so that I can officially call this *my pattern* (yes it's basic but still!!)


Wow, no wonder I haven't blogged in so long, that just took forever to upload pics, seems a few things have changed with the Blogger format.....hmmm not so sure I like it :(
The zipper part scared me so I put the whole thing off....for ages.
I ended up using this tutorial for the top zipper.
And here's what I ended up with.


Overall I'm happy with the bag, but the zip I used was too long. I also hope the bag itself isn't too big, it is on the large side but at least it will fit A4 books.
It was fiddly to top stitch and therefore it isn't as neat as I would like but I had trouble getting the bag through my machine, especially the end parts of the zipper. I've only sewn bags on mum's machine before so I was a bit (read: very!) annoyed that my machine didn't seem up to the task.
A pencil roll was also requested so I made one up to match the bag. I've made lots of these pencil rolls after figuring out some measurements so that I can officially call this *my pattern* (yes it's basic but still!!)


Wow, no wonder I haven't blogged in so long, that just took forever to upload pics, seems a few things have changed with the Blogger format.....hmmm not so sure I like it :(
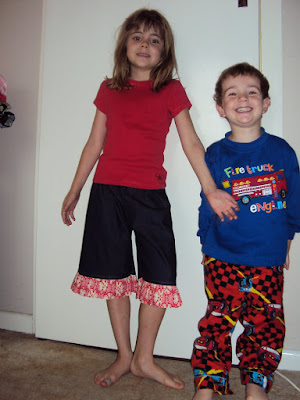
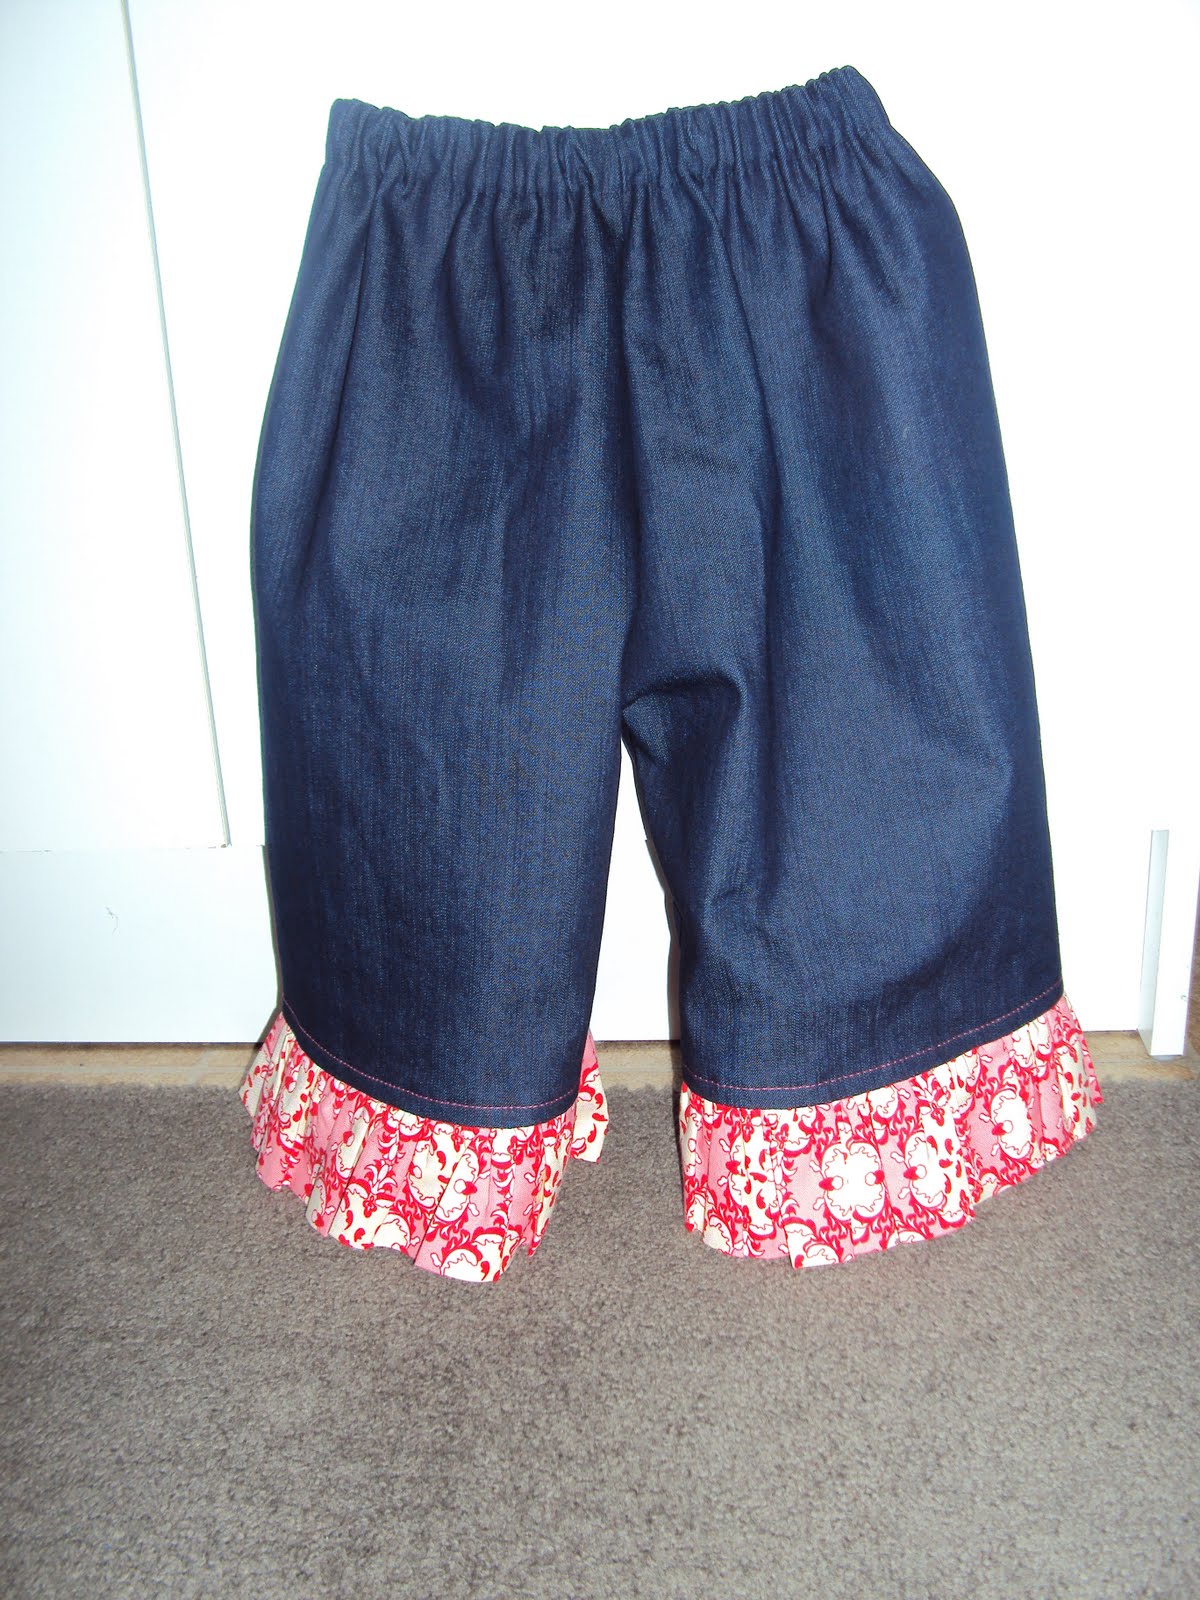
Long Shorts
My skirt/dress loving, non pants wearing daughter told me last night that she would like to wear shorts today. I reminded her that she doesn't have any. She politely asked if I would mind making her some. Lucky for her I've been wanting to try this pattern.
I ran into some problems with the 2nd ruffle and am now looking into buying a ruffle foot. It was one of those problems you run into at midnight when you know you could get the job finished in the next half an hour but your machine doesn't want to cooperate with you!! I ended up going to bed and finishing them off this morning.
I love the trim fabric I've used, so much so that it was hard to cut into since I was only using it for a trim and I was wondering if it would be better as a top or dress.
An easy to sew pattern with cute results. In her words "I love them mum!"
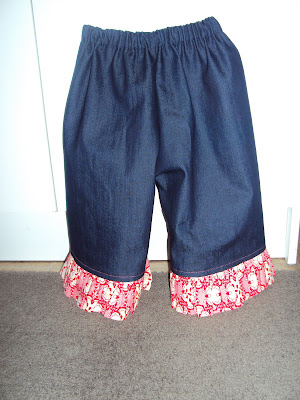
I can't believe how big M looks in this picture. She is so loooooooong now, her legs just seem to go on and on and on!
I ran into some problems with the 2nd ruffle and am now looking into buying a ruffle foot. It was one of those problems you run into at midnight when you know you could get the job finished in the next half an hour but your machine doesn't want to cooperate with you!! I ended up going to bed and finishing them off this morning.
I love the trim fabric I've used, so much so that it was hard to cut into since I was only using it for a trim and I was wondering if it would be better as a top or dress.
An easy to sew pattern with cute results. In her words "I love them mum!"
I can't believe how big M looks in this picture. She is so loooooooong now, her legs just seem to go on and on and on!

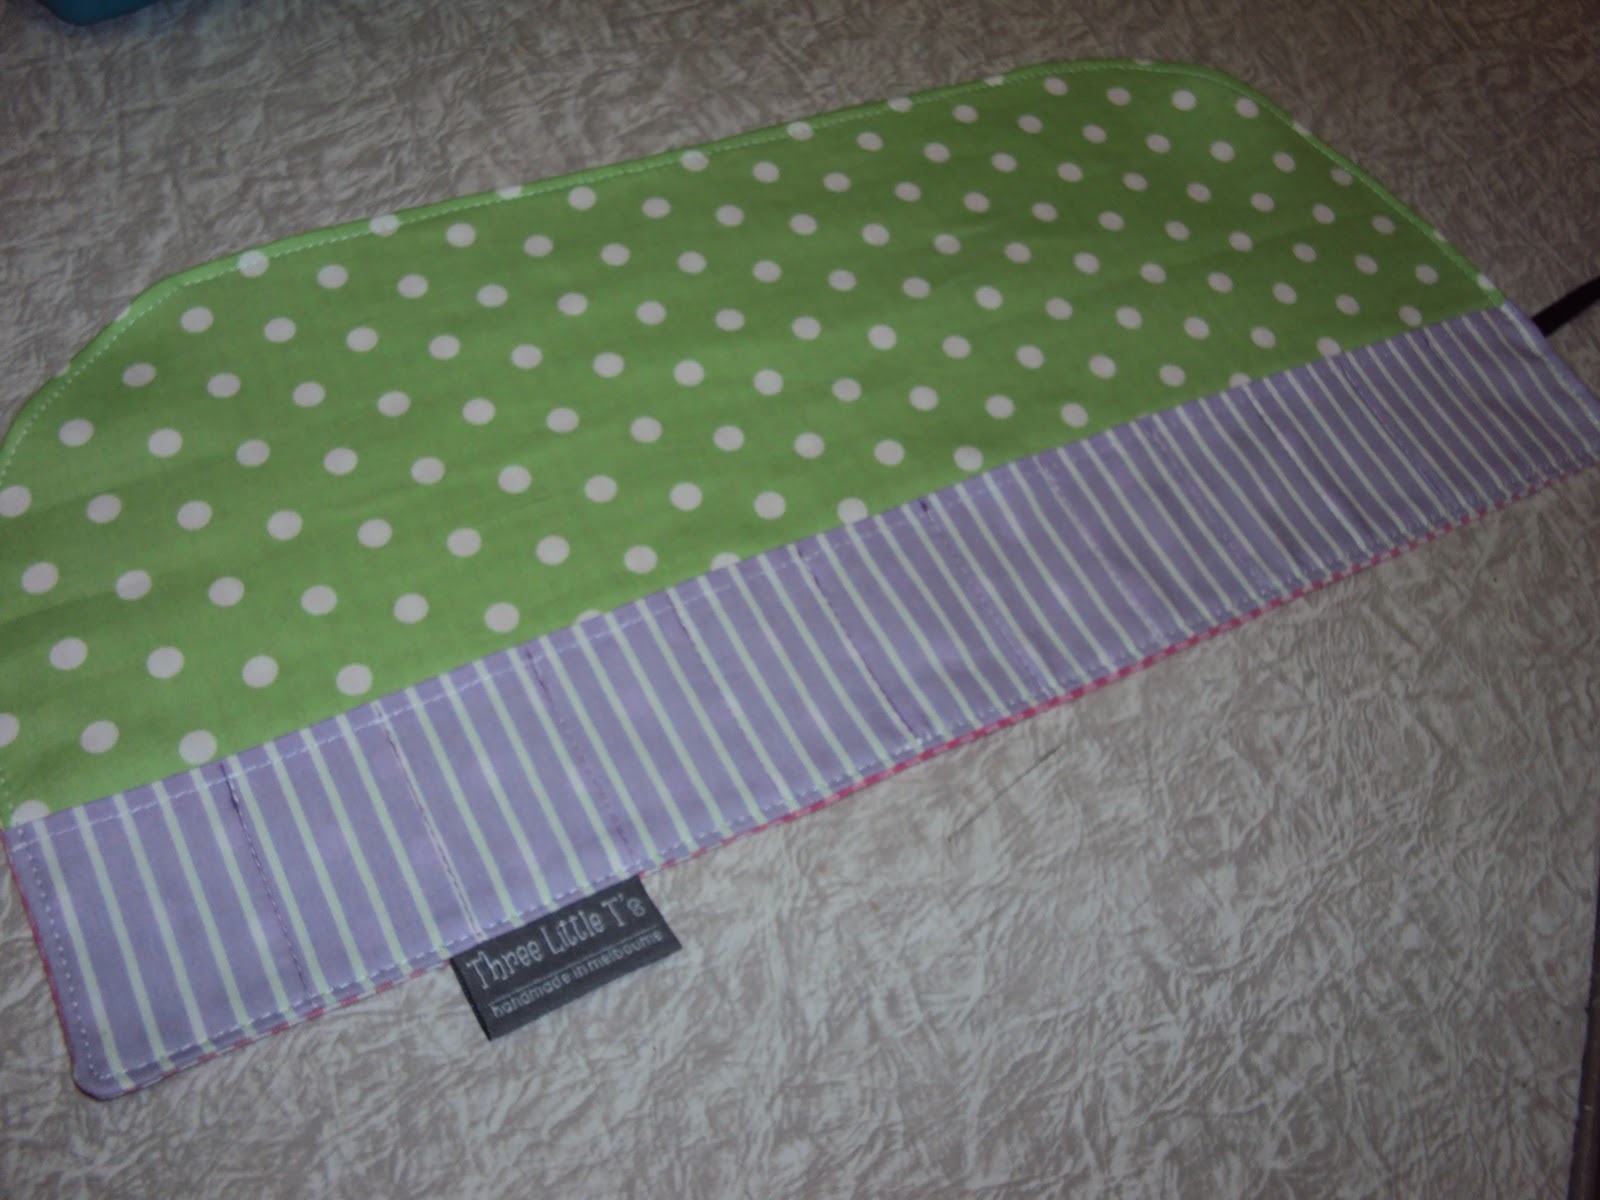
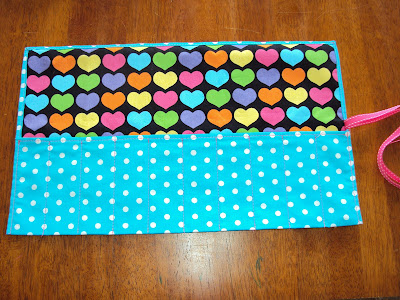
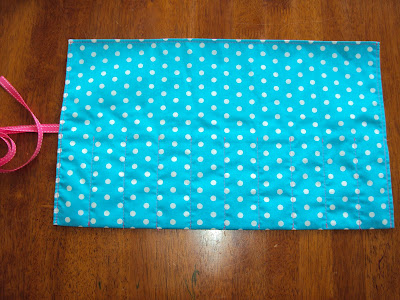
Texta (Crayon) Roll
I wanted to make a little something extra to put with a birthday present I had bought for one of M's best friends. I left it completely until the last minute (this morning!) but remembered seeing a tutorial on the lovely Emma's blog that I have been wanting to try (thanks for sharing the tute Emma!)
I've made a texta/crayon roll before but this tutorial looked even quicker.
I am happy with how it turned out however I didn't like seeing the stitching on the back of the roll (since you just turn up the bottom part to make the pocket and stitch through that to make the texta/crayon pockets). I love the bias edging so will try modifying the way the roll is put together and come up with my own version. I used 1 layer of whisper weft interfacing and found it worked perfectly to give the roll the tiniest bit of body. Previously the interfacing I've used has made the roll much too stiff. I like rolls with the fold down top flap which ensures the texta's stay put. I don't see the point (at all!) of the rolls that don't have the top flap??
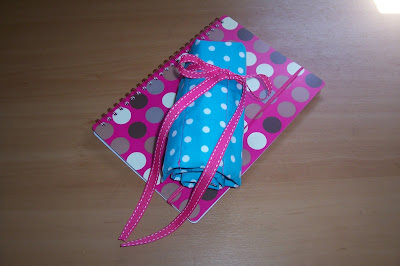
I'm happy with how it turned out and with the cute little notebook, I think it was a nice little extra pressie to go with the main present.
FWIW mum's seem to love these as presents for their kids. I'm not sure if they just haven't seen them before but whenever I've given them as presents, the mum's genuinely have the most fabulous reaction, it's great :)
On with the pics...
Unrolled without texta's (had to do a dash to the shops to buy a packet)
Back of the roll. See the stitching of all the pockets? I will modify it so that this is hidden next time
Unrolled with top flap down
Rolled up, filled with texta's and sitting on top of the cute little notebook
I've made a texta/crayon roll before but this tutorial looked even quicker.
I am happy with how it turned out however I didn't like seeing the stitching on the back of the roll (since you just turn up the bottom part to make the pocket and stitch through that to make the texta/crayon pockets). I love the bias edging so will try modifying the way the roll is put together and come up with my own version. I used 1 layer of whisper weft interfacing and found it worked perfectly to give the roll the tiniest bit of body. Previously the interfacing I've used has made the roll much too stiff. I like rolls with the fold down top flap which ensures the texta's stay put. I don't see the point (at all!) of the rolls that don't have the top flap??
I'm happy with how it turned out and with the cute little notebook, I think it was a nice little extra pressie to go with the main present.
FWIW mum's seem to love these as presents for their kids. I'm not sure if they just haven't seen them before but whenever I've given them as presents, the mum's genuinely have the most fabulous reaction, it's great :)
On with the pics...
Unrolled without texta's (had to do a dash to the shops to buy a packet)

Back of the roll. See the stitching of all the pockets? I will modify it so that this is hidden next time

Unrolled with top flap down

Rolled up, filled with texta's and sitting on top of the cute little notebook

Some little dresses
I love making these dresses. I plan to try and make a few to sell, here are the first 3.

And this is the dress I think I have actually fallen in love with, a gorgeous fabric combo of blue and brown.

The next 3 dresses I'm currently cutting out and sewing have already been sold, I can't wait to show everyone what they look like!
I'm not sure what the best way is to go about selling things....facebook, via my blog, etsy...?
I don't want to conquer the world or anything, especially with a new baby on the way, however selling on a small scale would be perfect.
Tote Bags
Two of these bags were made on the weekend, the fireman bag for my little man and the hedgehog bag is for Miss C's birthday this weekend.
The pink one was made a few weeks ago for miss M to use as a library bag. The interior was fabric I had second thoughts of using halfway through my swap piece so really the bag was halfway made already.
I'm much happier with the fireman and hedgehog bags because the lining is interfaced whereas the pink bag has the exterior fabric interfaced and you can see the bubbling (un-smoothness if that is a word!) on it.
I am completely in love with the hedgehog fabric matched with the red dotty fabric, which kind of just *happened* as I was sorting through my stash. I wasn't too fussed with the hedgehog fabric (which I bought ages ago) but the further along I got with the bag, the more I fell in love and now I wish I had more.
.JPG)
.JPG)
.JPG)
.JPG)
.JPG)
.JPG)
Swap - What I Made
As per usual I left my swap item til the last minute, which coincidentally was the same time as I started to experience my first ever bout of morning sickness - blergh! What's with that...third time lucky??
So I wasn't too keen to make a start on my swap piece and admittedly it became a little rushed towards the end but I hear that my swap partner was happy to receive a bag for her hand sewing and has been using it. I put some goodies in the bag too, a quick unpick, some thread cutters, hem gauge thingymajig, folding scissors and a needle nest (a magnetic case for her needles) hopefully things she can keep in the bag for her hand sewing.
My partner requested modern country/romantic fabric which threw me a little and this is what I ended up with (after a million fabric changes, even whilst halfway through making the bag. I hate being so indecisive.)
.JPG)
.JPG)
.JPG)
.JPG)
*I have just noticed that these pics are before the bag went through the machine so there were no pen lines on the bag when I sent it off!*
I used this tute here, how beautiful is the Hushabye fabric range!
The tute says to sew 3 pockets into the outside part and after doing that on 1 side I decided to only do 2 pockets on the other side because they were so small I could hardly get my hand into them.
Swap - What I Received
Our latest swap involved listing 3 things you would like to receive and our swap partners were left to choose which item to make. I was so excited this morning and as soon as M was awake we decided to open my present. M knew all about the swap as I had been explaining to her why I was making a present for someone I didn't know and I think she was just as excited as me! Thank you to my swap partner Bec for the fabulous goodies I received.
Off to a good start...I spy chocolate!!
.JPG)
A superhero cape!! One very excited little boy kept saying "I can fly, I can fly!" It has his initial on one side...
.JPG)
...and a lightening bolt on the other. I love the fabric, it's perfect cape material.
.JPG)
Hanging out on the floor this morning wearing his new cape
.JPG)
I have been wanting one of these for ages!! A beautiful Make It Perfect versatile wrap skirt. I love the fabric Bec has chosen for my skirt - gorgeous! I first saw this fabric on Mel's blog and love the colourway Bec used. She was so thoughtful and even included a button in case I need to make a size adjustment. There was also some velcro to adjust the neck size of the cape if need be, thanks Bec.
My beautiful skirt!
.JPG)
M claimed the chocolate as hers and was happy with the 1 piece I gave her and I've hidden the rest in the fridge for later.
Thank you so much Bec, I love everything you made and you have done a fabulous job. I feel very lucky to have received 2 things from my list. The overlocked edges of the skirt are even in coordinating thread and thank you so much for the extra item in the parcel too that I have deliberately not blogged about but am really appreciative of.
Art Smock
I modified the Kwik Sew pattern that I used to make M's doggy dress up suit to make this art smock. I am pleased with how it turned out however it is much too halloween-ish for my liking. M chose the purple stars but we didn't have enough for the whole smock so I used the orange aswell.
.JPG)
Don't you love this pose!
.JPG)
.JPG)
Don't you love this pose!
.JPG)
Subscribe to:
Posts (Atom)